As you unpack your new offset smoker and prepare for that first cook, you’ll likely run into the single biggest beginner mistake that turns a promising session into frustration. This guide helps you spot that problem, explains why it happens, and gives straightforward fixes so your smoker holds steady temperatures and produces clean smoke.
You’ll find a concise step-by-step checklist for setup, burn-off and seasoning, vent control, and routine maintenance, along with clear explanations of good versus bad smoke and essential safety practices. Follow these practical tips and troubleshooting steps to build confidence with your offset smoker and enjoy more consistent, satisfying results. You’ve just unpacked and assembled your offset smoker, completed the initial burn-off, and you’re excited to put food on it. This guide exists to help you avoid the single biggest beginner mistake—putting food on too early or before the smoker is stabilized—and to walk you step-by-step through setup, seasoning, fire management, vent control, smoke quality, placement, monitoring, and troubleshooting. Follow these practical steps and explanations to get consistent, tasty results while staying safe.

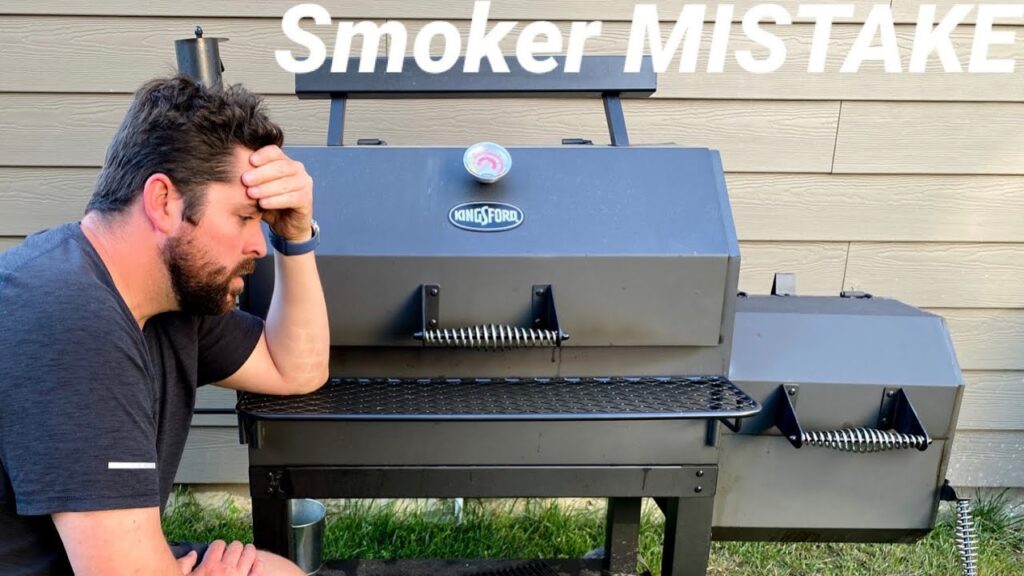
This image is property of i.ytimg.com.
Understanding the Biggest Beginner Mistake
What the mistake is: putting food on too early or before the smoker is stabilized
Putting food on the smoker before temperatures and smoke quality are stable means you’re asking your meat to cook in an environment that’s changing rapidly. You may see a nice fire and feel tempted to load racks immediately, but if the smoker hasn’t reached a steady, controllable temperature and clean-burning smoke, the result will likely be uneven cooking and off flavors. Your goal is a predictable heat source and clean smoke before you commit your food to hours of exposure.
Why new offset smokers encourage this mistake (visual cues, excitement, misconceptions)
Offset smokers are visually dramatic: an open firebox, flames, and rolling smoke make it feel like you’re ready to go. Because of that sensory feedback and beginner enthusiasm, it’s easy to assume “fire equals ready.” Misconceptions also play a role—some people think more smoke or a hotter initial fire is always better. In reality, those cues can be misleading; you need stable combustion, consistent airflow, and time for paint, oils, and metal surfaces to outgas and stabilize before cooking.
How unstable temps and improper smoke yield poor flavor and uneven cooking
When temperatures swing wildly, some pieces of meat will overcook while others lag behind. Improper or smoldering smoke deposits bitter, acrid compounds that mask the natural flavors you want. Temperature instability also affects bark formation, rendering of fat, and internal cooking times, so you might see long stalls, sudden spikes, or meat that takes far longer than expected to reach safe and desirable internal temps.
Key indicators you made the mistake (bitter smoke flavor, wide temp swings, long cook times)
You’ll know you made this mistake if you taste a harsh, bitter, or chemical smoke flavor; if your smoker’s chamber temperature bounces up and down rather than holding steady; or if cooks take dramatically longer than expected because your fire alternately smolders and flares. Other signs include excessive soot on the meat, greasy smoke flare-ups, or persistent chemical smells during the first few cooks.
How recognizing the mistake sets the frame for the step-by-step fixes that follow
Once you know the problem—premature loading—you can fix it systematically: assemble correctly, perform a proper burn-off and seasoning, build and manage the fire properly, learn vent control, monitor smoke quality, place food correctly, and use reliable thermometers. The rest of this guide gives you the exact steps to correct the mistake and produce consistent results.
Step-by-step: Assembling Your Offset Smoker
Unpack, inventory parts, and read the manufacturer manual before you start
Before you begin assembly, unpack every part and check the inventory against the manual. Reading the manufacturer’s instructions helps you understand specific fastener torque specs, gasket placement, and any unique features like counterbalance lids or grease systems. Confirm you have all bolts, wheels, gaskets, and hardware so you aren’t surprised mid-build.
Follow a logical assembly order and loosely fit fasteners first, then torque to spec
Start by loosely installing components in a logical sequence—frame, legs, wheels, firebox, main chamber—so parts align correctly. Once everything is in place and fits well, go back and tighten fasteners to the recommended torque or snugness the manual specifies. That prevents stress on welds or misaligned doors and reduces future leaks.
Install smoke locks, gaskets, and counterbalance lid correctly to reduce leakage
Fit smoke locks and gaskets per the instructions to create the best possible seal between the door and the main chamber. A proper counterbalance lid installation reduces lid droop and helps maintain a consistent seal. Pay close attention to hinge alignment and ensure the lid closes flat; small gaps are major sources of heat and smoke loss.
Set up grease management system, ash pan, and bucket so they operate freely
Install the grease collection pan, bucket, and ash pan so they slide and drain easily. A well-functioning grease system reduces flare-ups and makes cleanup safer. Make sure the ash pan clears freely and the grease bucket is positioned under the drain to collect runoff without obstructing airflow.
Level the smoker, secure wheels/casters, and position on stable, noncombustible surface
Level the smoker and lock caster wheels so the unit won’t roll during operation. Place it on a stable, noncombustible surface with adequate clearance from structures and combustible materials. Good placement and leveling ensure even cooking and reduce the risk of tipping or accidental fires.
Step-by-step: Initial Burn-Off and Seasoning
Purpose of burn-off: remove factory oils, paint fumes, and stabilise metal surfaces
The burn-off drives off manufacturing oils, paint odors, and lubricants, and it gives the metal a chance to expand and settle. Doing this before cooking food prevents chemical flavors and reduces the chance of residual fumes affecting your meat.
Procedure: build a small, clean fire, gradually bring smoker to target temp and hold for recommended time
Start with a small clean fire using charcoal or lump as recommended by the manual. Gradually raise the temperature to a moderate target (often 225–300°F / 107–149°C depending on the smoker and manual) and hold it for a couple of hours to burn off residues. Avoid wide-open damper settings that cause temperature spikes—bring heat up slowly.
Watch for off-gassing and ventilate; repeat if chemical odors persist
Monitor the burn-off for chemical or plastic-like odors. If you smell persistent off-gassing, ventilate the area and consider repeating the burn-off until the odors dissipate. You want neutral, woody smoke without sharp, chemical notes before you cook food.
Seasoning the grates and interior: thin oil layers and repeat controlled burns to build protective coating
Lightly coat grates and interior surfaces with a high smoke-point oil and perform one or more controlled burns to polymerize the oil into a protective, nonstick coating. Thin, even coats are better than heavy slathering. Repeat the process as needed to develop a darkened, seasoned surface.
How long to wait after seasoning before trusting stable temps for food cooks
After burn-off and seasoning, give the smoker one full cooling cycle and verify that it reaches and holds your target cooking temperature for a simulated cook (no food) before trusting it with a real meal. This validation—often a couple of short, monitored sessions—builds confidence that temps and smoke behavior are predictable.
Step-by-step: Building and Managing the Fire
Choose fuel: lump charcoal vs briquettes and compatible wood chunk choices for flavor control
Choose fuel based on how you want the fire to behave. Lump charcoal lights fast and burns hotter with easier adjustment; briquettes burn more consistently and longer. Pair your fuel with hardwood chunks (oak, hickory, apple, pecan, cherry) for flavor—milder fruitwoods for delicate profiles, stronger woods like hickory for robust flavor. Avoid resinous softwoods (pine) which produce creosote.
Fire layouts: chimney starter for direct start, minion or snake methods for long smokes
Use a chimney starter to get a quick, hot bed of coals. For long cooks, consider the minion method (starting a small hot zone next to a larger pile of unlit briquettes) or a snake method (lining coals in a crescent to burn progressively). These layouts extend burn time and reduce the need for frequent interventions.
How to light and bring the fire up slowly to avoid surges and to reach steady burn
Light a small batch of fuel and introduce air gradually to avoid surges. Place hot coals under the grate and add fresh fuel in measured amounts. Avoid dumping large amounts of unlit fuel onto a hot fire; that can smother combustion and create smoldering smoke. Slow, deliberate feeding helps reach and maintain steady temps.
Adding wood chunks for smoke bursts and timing additions without upsetting stability
Add wood chunks sparingly and on a schedule that won’t overwhelm the fire. Toss one or two chunks at a time to produce short, clean smoke bursts. Add wood when the fire is stable, not while it’s struggling or spiking. Watch the smoke color and let each addition settle before adding more.
Ash management and when to rake or remove ash to sustain airflow
Keep a moderate ash bed: too much ash chokes airflow, too little reduces thermal mass. Remove excess ash between cooks or during long sessions if it starts to restrict air. Rake ash carefully to avoid disturbing your coals and to maintain consistent airflow into the firebox.

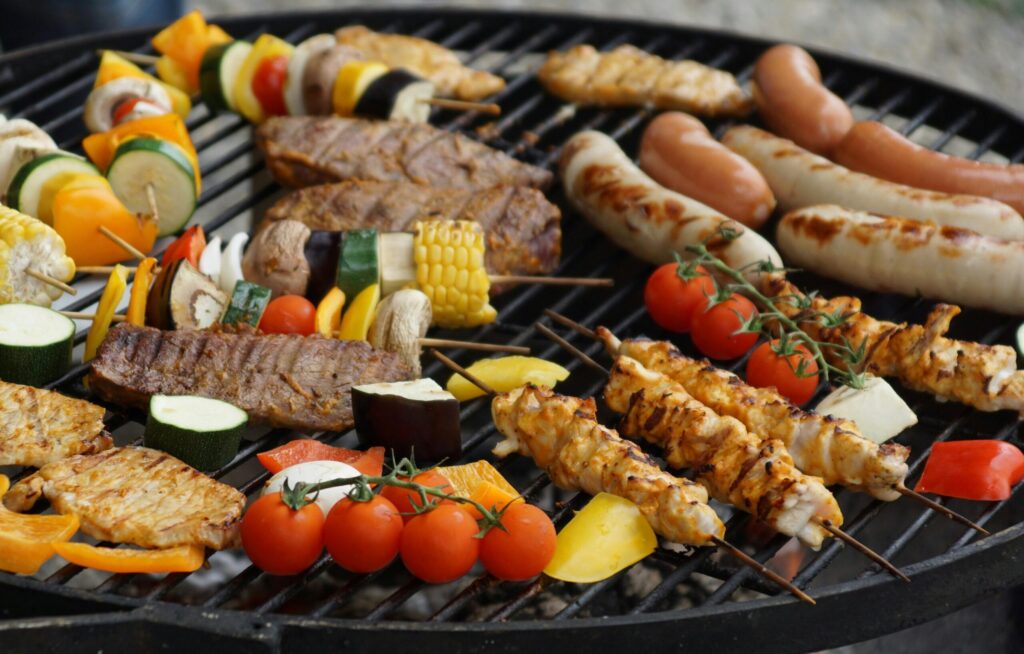
This image is property of images.pexels.com.
Temperature Control and Vent Adjustment
How intake and exhaust vents control combustion rate and chamber temperature
Intake vents feed oxygen to the fire and directly control combustion rate; opening them increases heat, closing them reduces it. Exhaust (chimney) vents control how quickly heat and smoke move through the chamber; a balanced intake and exhaust create a steady draw and predictable temps.
Setting vents for a target temperature and making measured small adjustments
Open both intake and exhaust moderately to start, then make small, incremental adjustments—quarter-turns or small percentage changes—until you reach your target temperature. Wait 10–20 minutes between adjustments to see the effect. Large or rapid changes often create volatile swings.
Using baffles, deflectors, and water pans to smooth temperature swings
Use baffles and deflectors to redirect heat and reduce hot spots near the firebox. Water pans add thermal mass and humidity, smoothing short-term swings. Position deflectors between the firebox and food racks to protect meat from direct heat.
Techniques to recover quickly from a temperature spike or a drop
To cool a spike: partially close intake vents, move food away from direct heat, or open the exhaust slightly to increase flow. To recover from a drop: open intake slightly, add a few hot coals, or reduce heat sinks by removing a water pan temporarily. Make measured interventions and monitor how the smoker responds.
Seasonal and weather-related adjustments for wind, cold, and humidity
On cold or windy days, preheat longer and keep vents slightly more open to maintain combustion; add more fuel mass for stability. On humid days, expect longer warm-up times. Shield the smoker from direct wind with a windbreak (not combustible) and consider adjusting vent settings to compensate for increased draft.
Smoke Quality: Good Smoke vs Bad Smoke
Visual cues: thin blue smoke is good, thick white or black smoke indicates problems
Thin, almost translucent blue smoke signals clean combustion and good flavor. Thick white smoke means steam or smoldering; black smoke indicates incomplete combustion or greasy flare-ups. Aim for a steady, light blue stream that indicates your smoke is contributing desirable flavor.
Common causes of bad smoke: wet wood, smoldering fuel, overloaded firebox, or insufficient draft
Bad smoke often comes from wet or green wood, an overstuffed firebox that smothers coals, a lack of oxygen causing smoldering, or dirty fuel producing tar and creosote. Address these underlying issues rather than just masking the smoke.
How to adjust wood type, size, and timing to control smoke intensity and flavor
Use dry, properly seasoned wood and cut it into chunks sized to burn cleanly on top of coals. Strong woods should be used sparingly and balanced with milder woods. Add wood in measured amounts to manage intensity, and don’t let wood pile on for extended smoldering.
Recognizing when smoke contribution is finished to avoid over-smoking
As meat approaches the later stages of cooking and smoke no longer improves flavor, reduce wood additions or move the meat away from the main smoke path. Over-smoking results in a bitter or saturated flavor—less is often more once the meat has had a few hours of clean smoke.
Monitoring smoke periodically as part of long cooks to catch and correct issues
During long cooks, glance at the smoke every 30–60 minutes, especially after adding fuel or wood. If you see thick white, black smoke, or heavy soot, take corrective actions—adjust vents, reduce wood, or rebuild the fire. Regular monitoring prevents small problems from ruining a long cook.

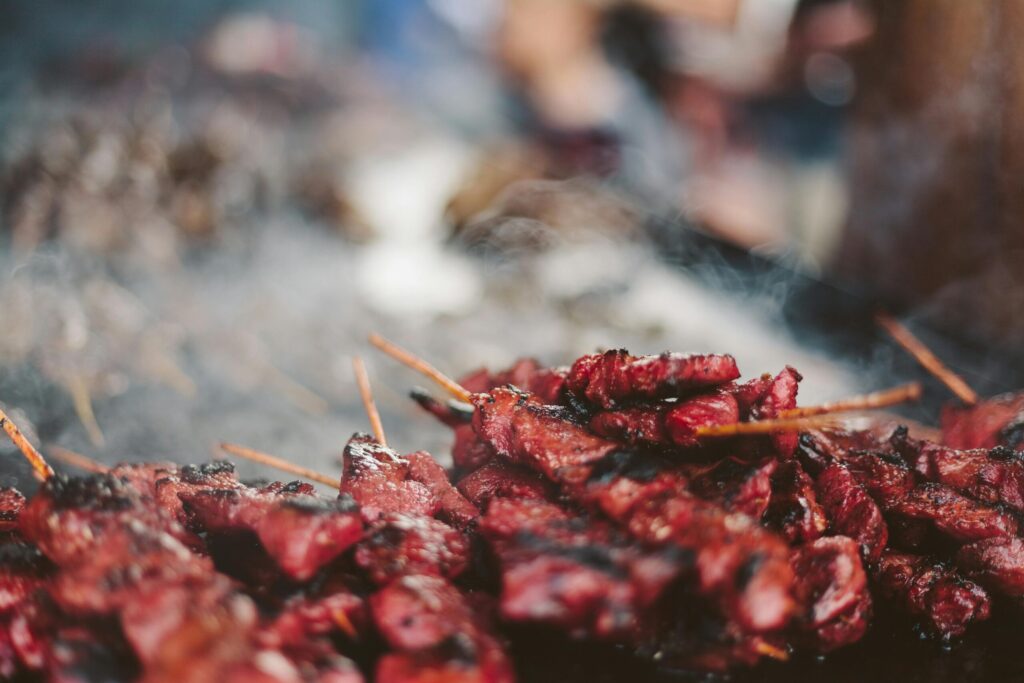
This image is property of images.pexels.com.
Proper Food Placement and Rack Management
How distance from the firebox influences heat and flavor—use placement to control cooking speed
Items closer to the firebox get more direct heat and stronger smoke flavor; items farther away cook slower and get milder smoke. Place richer cuts nearer the fire for speed and bark development, and delicate proteins farther away to avoid overcooking or excessive smokiness.
Avoid stacking too closely; maintain airflow around each piece
Crowding racks restricts airflow and creates uneven cooking. Leave space between pieces so hot air and smoke can circulate. Proper spacing improves heat distribution and reduces the chance of cold spots.
When and how to rotate or swap rack positions to even out cooking
If you notice uneven browning or temperature gradients across racks, rotate positions periodically—swap top and bottom racks or move pieces closer or farther from the fire. Do this quickly to minimize heat loss and maintain steady overall temperature.
Using drip pans and water pans for heat moderation and grease control
Drip pans catch grease to prevent flare-ups; water pans add humidity and thermal mass that smooth temperature swings. Place drip pans under meats that release a lot of fat and consider water pans under indirect meats to keep them moist and even in temperature.
Identifying and mitigating hot spots with deflectors or repositioning
Hot spots are common near the firebox. Use deflectors or place a tray of coals or a baffle to redirect or absorb heat. Reposition food or rotate racks when necessary to even out cooks rather than fighting continuous hot spot issues.
Using Thermometers and Monitoring
Choosing the right thermometer setup: built-in dial, probe, and wireless multi-probe options (e.g., Inkbird)
Choose a setup that gives you both chamber temperature and multiple meat probe readings. Built-in dials are fine for a quick glance, but wired or wireless multi-probe units (like multi-probe brands) give the most reliable data and allow remote monitoring throughout long cooks.
Where to place probes for accurate meat and chamber readings
Place the chamber probe near the center of the cooking grid—not directly over a vent or heat source. Insert meat probes into the thickest part of the cut, avoiding bone and fat pockets. For multiple probes, monitor representative pieces across the smoker to track gradients.
How to calibrate and verify thermometers before and during a cook
Calibrate thermometers in an ice bath (32°F / 0°C) and boiling water (212°F / 100°C adjusted for altitude) if possible. Verify probes by comparing to a trusted reference thermometer and recalibrate or replace faulty probes to ensure accuracy during long cooks.
Interpreting temperature trends, not single-point readings, for better control
Focus on temperature trends over time rather than a single reading. Rising or falling trends indicate how your smoker reacts to adjustments. Use trend data to make small, proactive changes to vents or fuel rather than reacting to transient spikes.
Setting alarms, remote monitoring, and logging temps for repeatable results
Set high and low alarms to alert you to unexpected changes. Remote monitoring systems let you check temps without opening the lid. Logging temperatures over multiple cooks helps you learn how your smoker behaves and which adjustments produce repeatable outcomes.

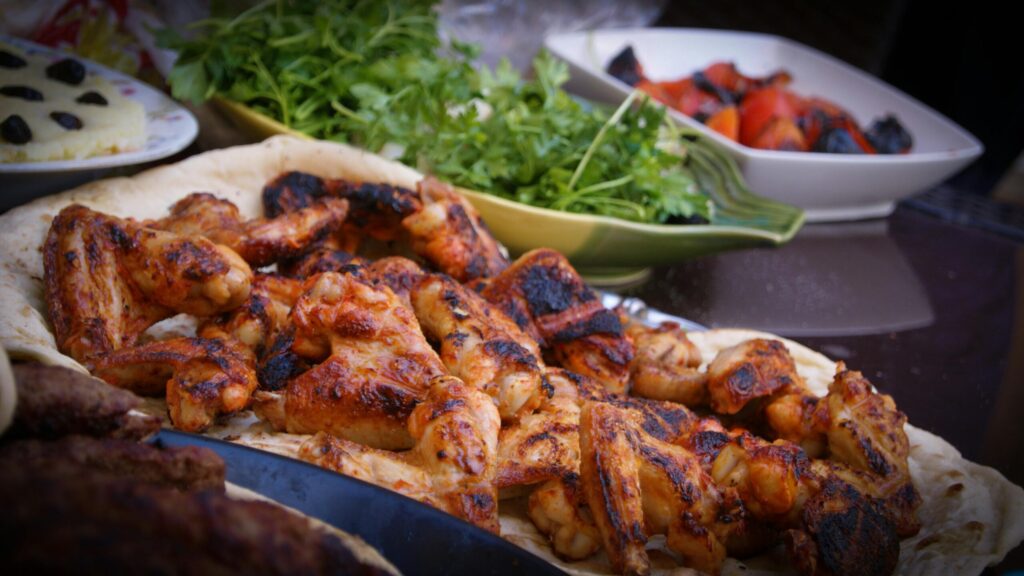
This image is property of images.pexels.com.
Troubleshooting Common Beginner Problems
Smoker won’t hold temperature — check fuel bed, vents, ash buildup, and leaks
If temperatures won’t hold, inspect the fuel bed (too small, damp, or insufficiently hot), ensure vents are set correctly, clear ash that blocks airflow, and check for leaks around doors, hinges, and gaskets. Often the fix is rebuilding the fire properly and sealing leaks.
Bitter or acrid smoke flavor — inspect wood moisture, fuel type, and combustion quality
Bitter smoke typically indicates wet wood, green wood, or smoldering combustion. Switch to dry, seasoned hardwood chunks, increase airflow, and ensure you have a hot, clean-burning coal bed. Avoid resinous woods and minimize overly long wood smolders.
Excessive smoke leakage — diagnose gasket, door seals, hinge alignment, and smoke locks
Excessive leakage lowers internal temps and wastes smoke. Inspect gaskets and door seals for gaps, straighten misaligned hinges, and ensure smoke locks are functioning. Add or replace gasket material where necessary to improve sealing.
Firebox flare-ups and grease fires — prevention, immediate response, and cleanup
Prevent grease fires by using drip pans and controlling fat drippings. For immediate response, close intake vents to reduce oxygen, move food away from flames, and have a metal lid or fire suppression blanket ready. Never use water on a grease fire. Afterward, cool, clean, and remove excess grease to prevent recurrence.
Uneven cooking — evaluate airflow paths, baffle placement, and fire size
If cooking is uneven, check airflow paths for blockages, adjust or add baffles/deflectors to redistribute heat, and ensure the fire size is appropriate—too hot near the firebox and too cool farther away often means the fire is oversized or poorly baffled.
Conclusion
Key takeaways about the biggest beginner mistake—wait for stability, manage fire and smoke deliberately
The biggest beginner mistake is rushing to put food on before the smoker is stabilized. Wait until you have a steady temperature, clean blue smoke, and a properly seasoned interior. Manage fire and smoke deliberately rather than reacting impulsively to visual cues.
Practice and incremental learning are the path to consistent results with an offset smoker
Consistent results come from practice and small, incremental adjustments. Each cook teaches you how your particular offset smoker behaves in your environment and with your fuel choices.
Use the step-by-step procedures, checklists, and video-based actions to reduce frustration and improve outcomes
Follow the assembly, burn-off, fire management, venting, placement, and monitoring steps presented here as a checklist. Use them every time to reduce errors and build repeatable techniques.
Join communities and reference manufacturer resources for model-specific tips and ongoing support
Engage with owner communities and consult your manufacturer manual for model-specific advice, replacements, and troubleshooting guidance. Other owners often share useful mods, placement tips, and maintenance tricks.
Final encouragement to prioritize safety and enjoy the learning process while refining technique
Always prioritize safety—stable placement, proper ventilation, grease control, and fire-safe habits. Enjoy the learning curve: the more patient and methodical you are, the quicker you’ll move from frustrating beginner mistakes to confident, repeatable smoking success.
