This guide helps you master firebox management for offset smokers and shows how different wood types affect burn behavior and smoke profile, so your temps stay steady and your cooks are more predictable. Knowing how to set expectations for firebox performance, choose the right wood, and manage chunks or splits will save you frustration and reduce flare-ups.
You’ll get step-by-step tips on wood selection, getting your fire going, chunk versus split management, and vent control, plus plain-language explanations of good versus bad smoke and routine cleaning. Practical safety advice and troubleshooting pointers are included so you can practice confidently and improve your smoking technique. You’re about to get a practical, beginner-friendly guide to managing the firebox on your offset smoker. This article explains why wood choice matters, how to start and control fires, what good smoke looks like, and how to use different wood forms (chunks, splits, lumps, briquettes). You’ll get step-by-step guidance, safety tips, and troubleshooting ideas so you can build confidence, form useful habits, and enjoy better smoking results.

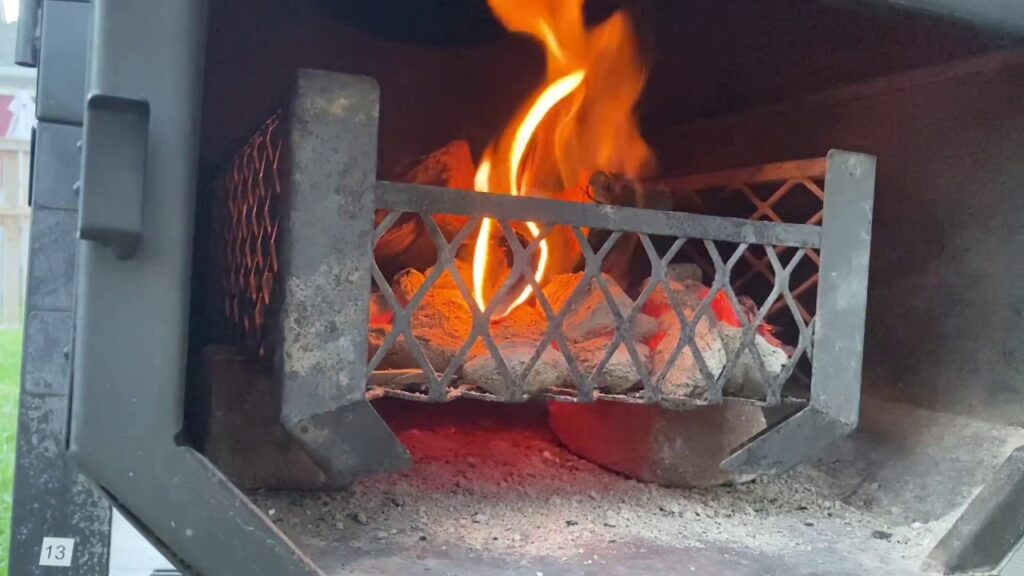
This image is property of i.ytimg.com.
Wood Selection for Offset Smokers
Overview of why wood choice matters for flavor and temperature
The wood you pick directly shapes both flavor and temperature dynamics in your offset smoker. Different woods produce distinctive smoke compounds that interact with meat to create taste profiles from mild and fruity to strong and savory. Wood density and size influence how hot and how long the fire burns: dense woods hold heat and burn longer at steadier temperatures, while softer woods or small pieces ignite quickly but need frequent feeding. Choosing the right wood lets you match flavor intensity to the cut you’re smoking and helps you hold consistent cooking temperatures without constant firefighting.
Common wood types for smoking and their general characteristics
Common smoking woods include oak (steady heat, medium flavor), hickory (strong, bacon-like), maple (mild and slightly sweet), cherry (mild and fruity), apple (sweet and delicate), and pecan (nutty, medium-strong). Each has predictable characteristics: oak and hickory are workhorses for long cooks because they burn hot and last; fruitwoods like apple and cherry are excellent for poultry and pork because they add gentle sweetness; maple and pecan sit in the middle and pair nicely with many proteins. Knowing each wood’s general flavor profile lets you plan combinations or single-wood runs that suit your food and cooking time.
How moisture content affects burn rate and smoke quality
Moisture content is critical. Wet or green wood produces thick, sooty smoke and struggles to reach and hold cooking temperatures; it also contributes to bitter off-flavors. Well-seasoned wood (generally 15–20% moisture or lower) lights more predictably, burns cleaner, and produces the thin, blue smoke you want. Moisture slows combustion, reduces heat output, and increases creosote formation in your smoker. Always prefer wood that’s been properly seasoned and stored dry.
Choosing between lumps, briquettes, chunks, and splits
Lump charcoal offers quick heat-up and high peak temperatures but with variable burn times and sizes; briquettes give predictable, steady heat and are easy to manage for beginners. Wood chunks are compact pieces meant to add smoke flavor without massive heat swings—great for controlled smoke additions. Splits (or logs) provide long burn durations and steady heat for overnight cooks but require more attention to placement and staging. Use a combination when appropriate: start with briquettes or lump charcoal for stable coals and add chunks or splits for smoke and extended heat.
Matching wood strength to food and cook duration
Match wood intensity to the protein and cooking time. Strong woods (hickory, mesquite if you use it cautiously) are best for beef and pork shoulder on long smokes where they won’t overpower. Moderate woods (oak, pecan) are versatile for long cooks and whole birds. Mild fruitwoods (apple, cherry) work well for poultry, fish, and shorter cooks. For long overnight smokes, rely on denser woods or staged splits for steady heat; for short smoking or finishing, use small chunks or chips of mild wood.
Understanding Different Wood Types
Hardwoods versus softwoods: safety and flavor implications
Always use hardwoods for smoking. Hardwoods come from deciduous trees and burn longer and cleaner; softwoods come from conifers and contain resins that create harsh, sooty smoke and carcinogenic compounds when burned. Softwoods (pine, fir, cedar unless specifically intended for flavoring and with caution) are best avoided in direct smoke for food. The general rule: if it grew leaves (hardwood), it’s usually safe; if it’s a resinous evergreen, don’t use it in the firebox for smoking food.
Popular hardwoods explained: oak, hickory, maple, cherry, apple, pecan
Oak: Steady, neutral smoke, great for long cooks and mixed meat racks. Hickory: Strong, sweet-savory, classic for ribs and pork shoulders but can be overpowering if overused. Maple: Mild, slightly sweet, pleasant on pork and poultry. Cherry: Fruity and mild, gives a rosy color to meats and pairs well with other woods. Apple: Gentle and sweet, ideal for poultry and pork. Pecan: Nutty and medium-strong; similar to hickory but milder. Learn each wood’s personality and start light—add more if desired.
Aromatic and resinous woods to avoid and why
Avoid aromatic or resinous woods like pine, spruce, fir, cedar (except controlled applications like plank cooking when specifically intended), and any wood treated with paint, glue, or chemicals. They release creosote, soot, and toxic compounds that create off-flavors and health risks. Construction scraps, pallets, and pressure-treated lumber are unsafe. Stick to clean, natural hardwood that’s been properly cut and seasoned.
Local wood sourcing and seasoning tips
Source wood locally from firewood suppliers, tree removers, or reputable retailers who can tell you species and age. If you have fresh-cut wood, split and stack it off the ground with airflow on all sides and cover the top only to keep rain off; seasoning typically takes 6–12 months depending on species and climate. Thinner pieces season faster; larger rounds take longer. Store wood in a dry, ventilated spot and rotate older stock forward so you use properly seasoned material.
How to test wood for readiness to burn
Test wood readiness by appearance, sound, and weight. Seasoned wood looks gray on the ends, has visible cracks, and feels lighter. When struck, seasoned wood gives a hollow sound; green wood sounds dull. You can also use a moisture meter—aim for under 20% moisture. As a quick burner test, dry wood should ignite easily and produce a steady, mostly blue smoke rather than thick white smoke or excessive popping.
Good Smoke Versus Bad Smoke
Characteristics of good smoke and how it looks and smells
Good smoking smoke is thin, bluish, and almost invisible—sometimes described as “transparent.” It smells clean, slightly sweet or woody, and pleasant rather than acrid. Good smoke imparts flavor without bitterness or soot. When you see this thin, blue smoke coming into the cook chamber, you’re in the right zone for flavor development without off-notes.
Signs of bad smoke and common causes (wet wood, incomplete combustion)
Bad smoke is thick, white, gray, or black and smells acrid, sooty, or chemical-like. Common causes include wet or green wood, insufficient oxygen leading to smoldering, too much unburnt fuel, or incomplete combustion due to poor airflow. Bad smoke can coat your food with soot and bitter compounds and should be corrected quickly.
How bad smoke affects flavor and health
Bad smoke leaves bitter, sooty coatings and overpowering chemical flavors that ruin the subtlety of smoked food. From a health perspective, consistent exposure to heavy creosote-laden smoke is undesirable—both for the food and for you while tending the smoker. Aim for clean combustion to protect flavor and reduce health risks associated with particulate-laden smoke.
Techniques to encourage clean combustion
Encourage clean combustion by using well-seasoned hardwood, maintaining good airflow (open intake during startup, then moderate for steady burn), and building a hot bed of coals before adding large amounts of wood. Use smaller pieces initially to get them past the “smolder” stage quickly, and avoid piling unlit wood directly onto low-oxygen embers. Regular ash removal and keeping intake/exhaust clear helps oxygen flow and prevents smoldering.
Visual and olfactory checks during a cook
Make quick visual and smell checks every 15–30 minutes during critical periods. Look for thin, blue smoke exiting the stack and check for any heavy white smoke which signals wet wood or oxygen problems. Smell at the vent briefly—if it smells clean and woody, you’re good; if it’s bitter, take action. These small checks help you catch and fix issues before they affect the whole cook.
Firebox Design and Offset Smoker Basics
How an offset firebox transfers heat and smoke to the cook chamber
In an offset smoker, the firebox sits beside the cook chamber; heat and smoke travel horizontally from the firebox into the chamber, circulate around the food, and exit through the stack. This lateral flow creates indirect heat and the smoky environment that cooks and flavors the food. The longer the flow path and the better the seals, the more time smoke has to impart flavor before exiting.
Identifying key parts: intake, damper, fire grate, ash pan, stack
Key parts include the intake (air entry to feed combustion), the damper (controls airflow), the fire grate (supports coals and allows ash to fall), the ash pan (collects ash for cleanup), and the stack or chimney (exhaust path). Understanding where air comes in, where it feeds the fire, and where smoke leaves lets you manipulate combustion and temperature precisely.
Differences between small and large fireboxes and implications for wood use
Small fireboxes heat up faster and require more frequent feeding; they benefit from smaller pieces, chunks, or lump charcoal for nimble control. Large fireboxes accept full logs and provide long burn times but require staging and practice to avoid temperature swings. Bigger fireboxes can mask poor technique at first because they hold more heat, but they also demand awareness of how large logs affect oxygen flow and smoke production.
How construction and seals affect temperature stability
Tight seals, well-fitted lids, and smoke locks reduce leaks that let heat escape or fresh oxygen in uncontrolled ways. A well-constructed smoker with gasketing or smoke locks holds temperatures more steadily and makes vent adjustments more predictable. Thin metal and poor insulation increase sensitivity to ambient conditions and fuel additions—expect more temperature drift and compensate accordingly.
Expected performance limits and realistic expectations for beginners
As a beginner, expect to spend time learning how your particular smoker responds. You’ll have to tend smaller offset fireboxes more often and accept that perfect stability is a skill developed over many cooks. You can achieve great results, but understand that offset smokers require active management—this is normal. Set realistic goals: focus first on maintaining safe temperatures and clean smoke, then refine flavor nuance over time.

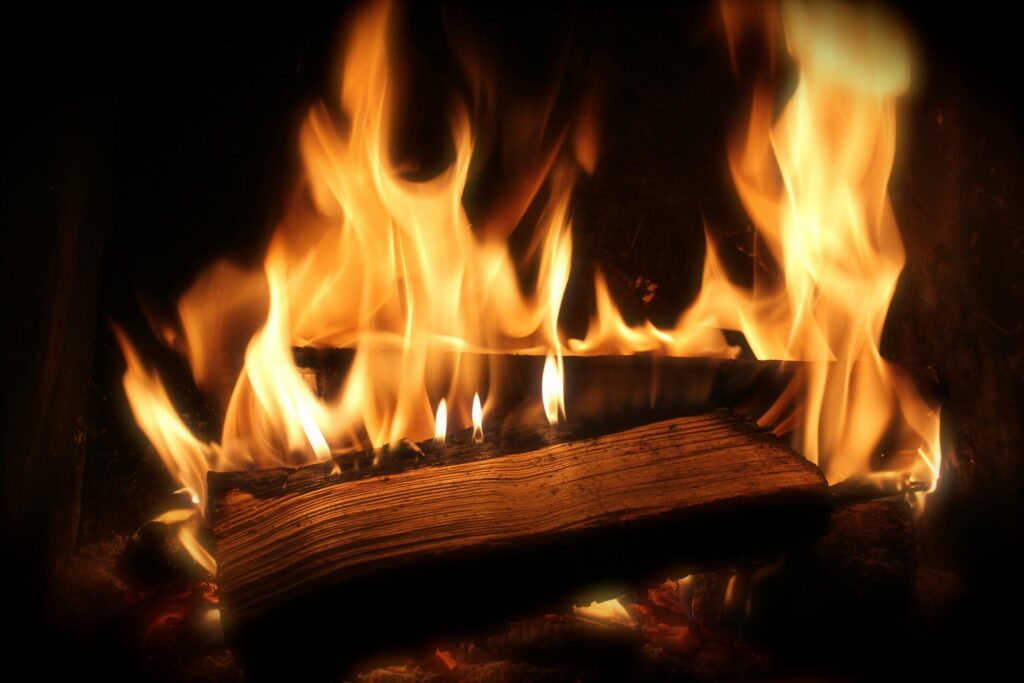
This image is property of images.pexels.com.
Preparing and Seasoning Your Firebox
Initial burn-in steps for a new smoker without food
For a new smoker, do a burn-in or cure cycle without food to burn off manufacturing oils, paint residues, and packing greases. Light a moderate fire and bring the smoker up to about 300–350°F for a couple of hours, then let it cool. Repeat if you notice strong odors. This process helps stabilize finishes and prepares the interior for cooking.
Cleaning factory oils and curing paint safely
Start with a light scrape of loose debris, then perform the burn-off using dry charcoal or lump and some hardwood. Keep the area ventilated and stand upwind from the smoke. Avoid overheating paint by following manufacturer guidelines; a gradual increase in temperature is safer. After burn-off, wipe interiors with a cloth once cooled if there’s soot buildup, and repeat if necessary until odors dissipate.
Inspecting and installing gaskets or smoke locks
Inspect door seals and install gaskets or smoke locks where needed to reduce leakage. Proper gasketing minimizes air intrusion and stabilizes temperature control. Check for gaps around doors and the lid; if smoke escapes in places other than the stack, you’ll have less predictable airflow. Properly installed smoke locks make vent settings more effective and reduce the need to constantly tweak the fire.
Establishing a baseline with a low-temperature seasoning burn
After burn-in, run a low-temperature seasoning burn—around 225–250°F—for a few hours. This lets the smoker settle into its thermal behavior under cooking conditions and helps carbonize interior surfaces for a more stable smoking environment. Use this run to test your vent settings and learn how much wood your smoker needs to hold a target temperature.
Routine pre-cook checklist for a ready firebox
Before each cook: empty excessive ash, verify grates and racks are clean, ensure gaskets are intact, confirm vents move freely, check your fuel stash is on-hand and dry, and have tools and safety gear ready (gloves, tongs, fire extinguisher). Do a quick smoke test to confirm clean blue smoke before putting food in the chamber.
Starting Your Fire: Step-by-Step
Choosing a lighting method: chimney starter, electric starter, or torch
Choose a lighting method you’re comfortable with. A chimney starter is reliable for charcoal or lump, giving consistent coals without chemicals. Electric starters are safe and hands-off; torches are quick for wood but require care. Avoid lighter fluid; it can leave chemical residues and affect flavor.
Building an initial charcoal or wood base for steady coals
Start with charcoal or lump in the firebox to establish steady coals. Ignite a chimney starter full of charcoal, then add the glowing coals to the firebox on one side, building a bed that will act as your heat engine. Add a few small wood chunks to introduce smoke without dramatically changing temperature early in the cook.
How to arrange kindling, chunks, or splits for reliable ignition
Arrange kindling in a teepee or log cabin pattern over the coals so air can circulate. Place small chunks or split kindling on the coals to catch quickly; avoid smothering the fire with full-size logs at first. For splits, stage them to the side so you can slide them into position once the bed is hot and oxygen is adequate.
How to bring the smoker up to target temperature safely
Bring the smoker up by opening the intake fully during startup to feed oxygen, then adjust the damper and stack as temperature rises. Increase slowly—don’t throw large logs on cold embers—because sudden large fuel additions can cause temperature spikes. Aim for a gradual climb to your target and let the smoker stabilize for 10–20 minutes before loading food.
Early airflow adjustments and when to add first wood
Once the smoker approaches your target temp, begin closing the intake slightly to reach a stable setting that maintains your desired heat. Add the first full chunks or a small split only after you have a steady bed of coals and consistent airflow; this avoids smoldering. Typically, the first major addition comes once the firebox has been at the target temperature for 10–30 minutes and smoke is thin.

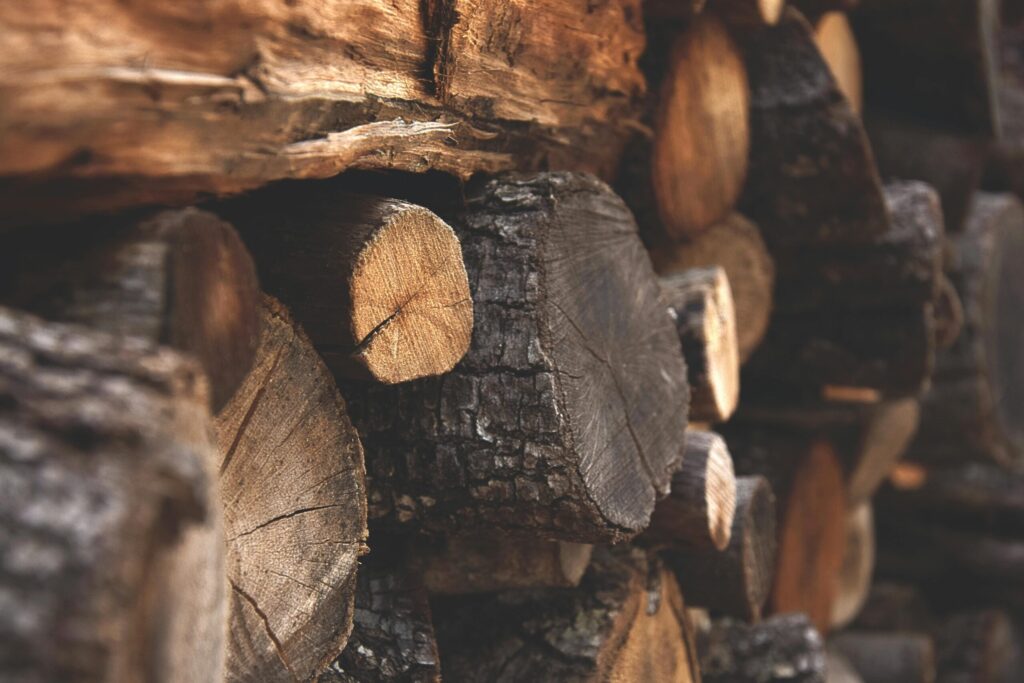
This image is property of images.pexels.com.
Managing Wood Chunks: Techniques and Tips
When to use chunks instead of splits and why beginners like them
Chunks are ideal for beginners because they’re easy to handle, produce predictable smoke, and don’t require the staging and balancing that splits do. Use chunks for controlled smoke addition, short-to-medium cooks, or when you want to avoid frequent large fuel shoves. They’re a low-maintenance way to get good flavor with less risk of dramatic temperature swings.
Placement strategies for chunks to influence burn rate and smoke output
Place chunks directly on hot coals for maximum smoke and heat or tuck them partially into coals for slower, smoldering burn. Laying chunks near the outer edge of the coal bed gives gentler smoke; stacking them vertically can encourage longer smolder. Experiment in small steps: move placement closer for more smoke, back off for less.
How often to add chunks for multi-hour cooks
For multi-hour cooks, add chunks every 45–90 minutes depending on size, wood type, and temperature. Monitor the fire and add a chunk when the coal bed begins to cool or smoke thins more than you want. Don’t over-add—too many chunks at once can spike temps or create bad smoke.
Monitoring coals and reading color/ember signs for chunk health
Healthy coals glow bright red with gray ash; embers that are dim or dark indicate cooling. Chunks should show smoldering edges that slowly turn to white ash as they burn. If chunks are producing black or white billowing smoke, adjust airflow or move them onto hotter coals to complete combustion.
Stacking and tucking chunks to avoid temperature spikes
Stack chunks sparingly and tuck them into the coal bed rather than piling them on top. Stacking many pieces can temporarily increase oxygen flow around the wood and cause a spike. Tucking small pieces into the embers lets them heat gradually and contributes to steady combustion rather than bursts.
Managing Split Wood: Techniques and Tips
Advantages and challenges of using split logs in an offset firebox
Splits provide long, steady heat and are great for long overnight cooks, but they require more skill to stage and add without upsetting oxygen flow. They can create deep, sustained heat, reducing the number of feedings, but if added incorrectly they can smother the fire or cause large smoke events. Splits are best when you understand your smoker’s airflow and have space to stage them.
Sizing splits for burn duration and temperature control
Size splits based on desired burn time: larger rounds burn longer and hotter; smaller splits burn faster. For overnight runs, use well-seasoned, reasonably sized logs that fit comfortably in the firebox and won’t block airflow when placed. You’ll learn by trial what sizes maintain your target temperature with minimal intervention.
How to stage split wood for long overnight smokes
Stage splits in advance by placing unlit logs in the firebox’s staging area where they can preheat slightly but not smother the main coals. Slide one in at a time onto hot embers so the fire can ignite smoothly. Keep back-up splits nearby but off the coals so you can add them without opening the door long or disrupting draft.
Safe techniques for adding large split wood without oxygen loss
When adding a large split, open the firebox door only briefly, push the split toward the coals rather than dropping it from a distance, and close the door quickly. Maintain the intake open enough to avoid temporary oxygen starvation. Use tongs or a poker while keeping hands clear, and add smaller pieces first if the log is too big to ignite quickly.
Combining splits with charcoal for predictable heat
Combine charcoal or lump coals as a base with staged splits on top to get the reliability of coals and the duration of logs. Charcoal provides a stable heat platform; splits extend burn time and add wood smoke. This hybrid approach gives predictability for long cooks while keeping you in control of flavor and temperature.

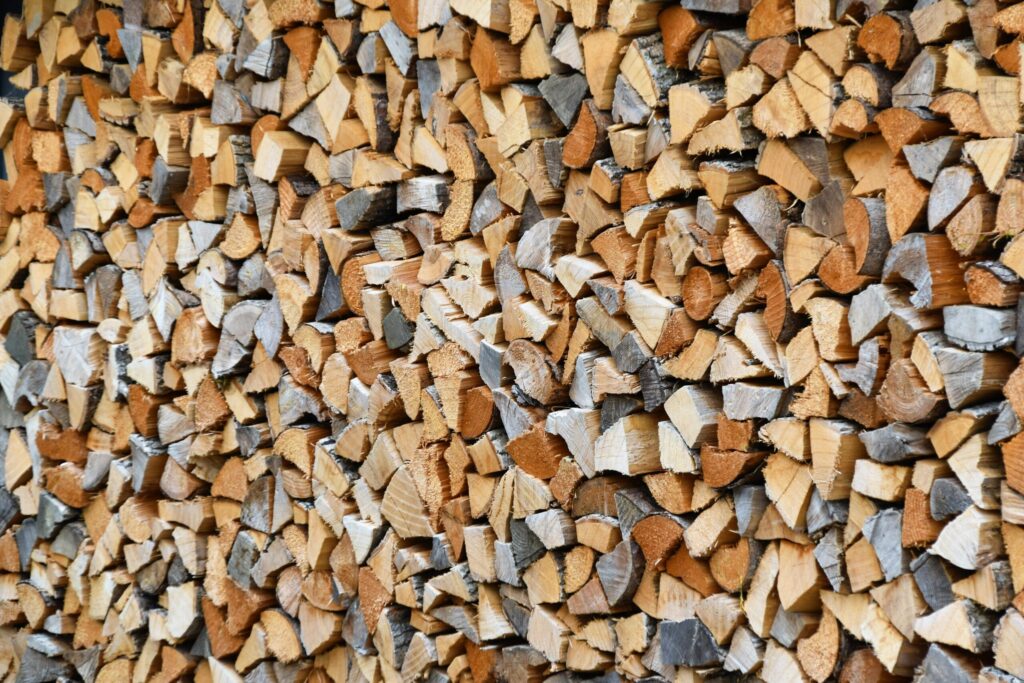
This image is property of images.pexels.com.
Vent Control and Temperature Management
How intake and exhaust vents change oxygen flow and temperature
Vents control oxygen supply to the fire and the exhaust path for smoke. Opening the intake increases fresh air, boosting combustion and temperature. The stack (exhaust) creates draft—its height and openness influence how quickly smoke moves through the cook chamber. Balancing intake and exhaust helps you reach, hold, or reduce temperatures deliberately.
Basic vent adjustment patterns for rising, holding, and lowering temps
To rise: open the intake and ensure the stack is open to allow strong draft. To hold: set the intake to a moderate position where the fire maintains its heat without accelerating. To lower: partially close the intake and slightly close the stack to dampen draft—do this gradually to avoid smoldering. Fine-tune in small increments and give the smoker time to respond.
Using minute-by-minute and hour-by-hour strategies during a cook
In the first hour, watch closely and make small minute-by-minute vent tweaks as the fire stabilizes. Once stable, move to hour-by-hour checks: add fuel, adjust vents, and glance at smoke. For long cooks, plan larger adjustments only when you know how the smoker reacts to additions. Logging temperature changes helps you develop a predictable routine.
Stack height and placement effects on draft and smoke flavor
Higher stacks generally increase draft and pull smoke through the chamber faster, which can reduce heavy soot deposition but may shorten smoke contact time. Short stacks or poorly placed stacks can cause slower flow and stronger smoke flavor but may also allow more soot to collect. Experiment with stack settings to find the balance between smoke flavor and cleanliness for your setup.
Quick fixes for sudden temperature swings
For sudden spikes, close the intake slightly and move any fresh wood away from direct contact with embers. For sudden drops, open the intake, add lit coals or small chunks to revive the bed, and check for ash blockages. Keep a spare chimney of hot coals or a small backup fuel source ready for recovery situations.
Conclusion
Summary of core takeaways about wood selection, fire starting, and management
You now know that wood type, moisture, and size directly shape flavor and temperature; that clean, blue smoke is the goal; and that choosing between lumps, briquettes, chunks, and splits depends on your cook length and comfort level. Proper smoker preparation, steady coals, staged fuel additions, and thoughtful vent control are the core skills for successful offset smoking.
Encouragement to practice basic techniques and build muscle memory
Practice is the fastest path to competence. Start with short cooks to learn how your smoker responds, practice adding chunks and splits, and build muscle memory for vent adjustments. Every cook teaches you something about timing, fuel needs, and smoke behavior—over time these actions become instinctive.
Recommendation to keep safety and maintenance routines consistent
Keep safety front of mind: use gloves and tools, never leave an unattended fire without a planned check schedule, and keep a fire extinguisher or water source nearby. Maintain your smoker by cleaning ash, inspecting seals, and performing routine burn-ins. Regular maintenance improves performance and reduces unexpected problems.
Next steps: use video-to-text guides, join owner groups, and track progress
Next, watch step-by-step videos or convert them to text to reinforce techniques, join smoker owner groups to learn modifications and tips, and log your cooks (wood used, vent settings, temps, and outcomes). Tracking progress helps you iterate faster and replicate successes.
Resources for further learning and troubleshooting
Keep practicing and troubleshooting with patience. Use manuals and owner groups for model-specific advice, read up on wood species and seasoning, and keep experimenting with combos that suit your taste. With consistent practice and attention to the basics outlined here, you’ll get comfortable managing your firebox and produce reliably great smoke flavor.
